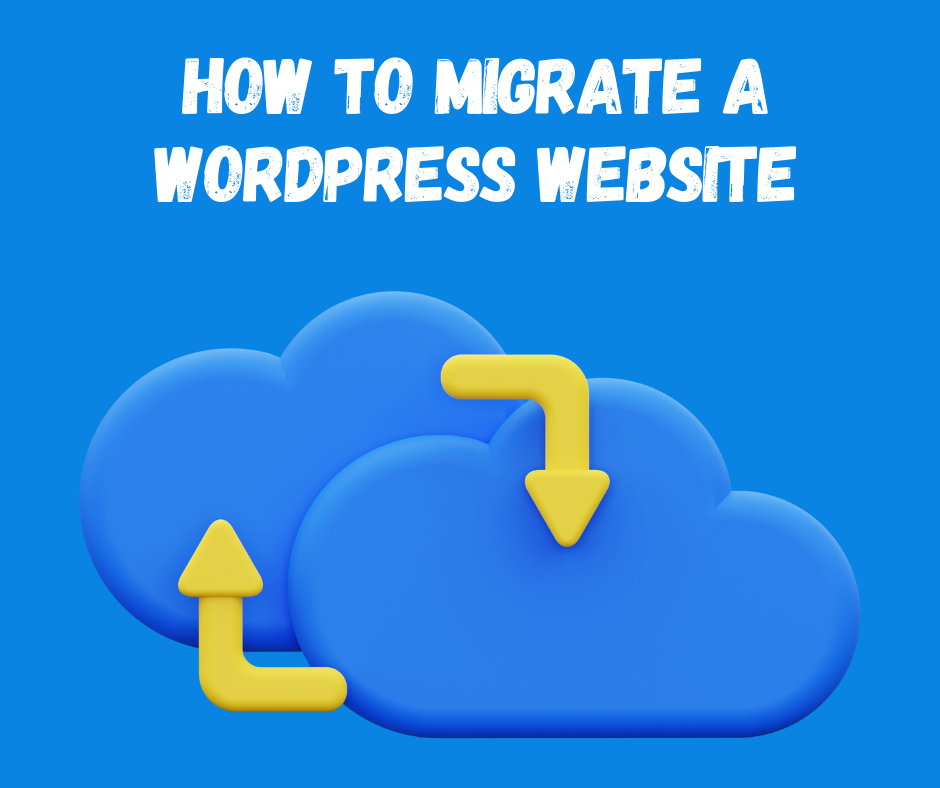
How To Migrate a WordPress Website
- Themes Studio
- July 25, 2023
- Blog, Tips & Tricks, Web
- 0 Comments
Migrating a WordPress website can be a daunting task, but it doesn’t have to be. With a little planning and preparation, you can easily move your site to a new host or domain name without any downtime.
Here are the steps involved in migrating a WordPress website:
- Choose a new host.
- Back up your site.
- Export your database.
- Create a new database on the new host.
- Import your database.
- Upload your site’s files.
- Point your domain name to the new host.
- Test your site.
- Choose a New Host
The first step is to choose a new host for your WordPress website. There are many different hosts to choose from, so it’s important to do your research and find one that meets your needs.
When choosing a host, you must consider factors such as price, performance, and features. You’ll also want to make sure that the host offers a migration service. This will make the process of moving your site much easier
Some of the best hosts for WordPress include:
- Bluehost: Bluehost is one of the most popular hosts for WordPress. They offer many features and plans, and their migration service is very easy to use.
- HostGator: HostGator is another popular host for WordPress. They offer a variety of features and plans, and their migration service is also very easy to use.
- SiteGround: SiteGround is a newer host quickly becoming popular among WordPress users. They offer many features and plans, and their migration service is very fast and efficient.
Before you do anything else, it’s important to back up your WordPress website. This way, if anything goes wrong during the migration process, you’ll have a copy of your site that you can restore.
There are many different ways to back up a WordPress website. You can use a plugin, a backup service, or even an FTP client.
If you’re using a plugin, there are many great options available. Some of our favorites include:
• BackWPup: BackWPup is a great all-in-one solution for backing up your WordPress website. It can backup your files, database, and even create a staging environment for your site.
• Duplicator: Duplicator is another great option for backing up your WordPress website. It can create a complete site copy, including your files, database, and settings.
Migrate Guru: Migrate Guru is an excellent option for migrating your WordPress website to a new host. It can transfer your files, and database, and even create a new WordPress installation on the new host.
If you’re not using a plugin, you can also back up your WordPress website manually. To do this, you’ll need to: Download all of your site’s files.
Export your database
You can use an FTP client such as FileZilla to download all of your site’s files. Once you’ve connected to your hosting account, navigate to the directory where your WordPress site is located. From there, you can drag and drop all of the files into a folder on your computer.
To export your database, you must access your hosting account’s control panel. Once you’re logged in, look for the “Database” section. From there, you should be able to find an option to export your database. Click on it and follow the instructions.
Create a New Database on the New Host
Once you’ve exported your database, you’ll need to create a new database on the new host. This is where you’ll import your old database.
To create a new database, you’ll need to log in to your new hosting account’s control panel. Once you’re logged in, look for the “Database” section. From there, you should be able to find an option to create a new database. Click on it and follow the instructions.
When creating the new database, you must give it a name and choose a password. You’ll also need to select the correct collation. The collation is the character set that will be used to store data in the database.
Import Your Database
Now that you have a new database on the new host, you can import your old database. This will transfer all of your site’s content to the new host.
To import your database, you’ll need to use a database management tool such as phpMyAdmin.
Once you’ve logged in to phpMyAdmin, select the new database that you created
From there, click on the “Import” tab and select the file that contains your exported database.
Point Your Domain Name to the New Host
The last step is to point your domain name to the new host. This will make sure that your site is accessible at the same URL.
To point your domain name to the new host, you’ll need to contact your domain registrar. They will be able to help you update your domain’s DNS records
Test Your Site
Once you’ve completed all of the steps above, it’s important to test your site to make sure that everything is working properly.
Here are a few things you can do to test your site:
- Make sure that all of your pages are loading properly.
- Try to log in to your site and make sure that you can access all of your settings.
- Try to add a new post or page and make sure that it saves properly.
- If you find any problems, you can try troubleshooting them or contact your new host for help.
Conclusion
Migrating a WordPress website can be a daunting task, but it doesn’t have to be. With a little planning and preparation, you can easily move your site to a new host or domain name without any downtime.
Following the steps in this blog post, you can successfully migrate your WordPress website to a new host.
Related Posts

Start Your Fashion Blog With WordPress
- Themes Studio
- November 17, 2023
Are you a fashion enthusiast with a passion for style? Ever thought about starting your own fas ..

7 Exceptional UX Research Tools for Enhancing Your Website
- Themes Studio
- January 1, 2024
Top-Notch UX Research Tools for Your Website Emphasizing the significance of a commendable user ..


Leave A Comment